Start with cooling before speed
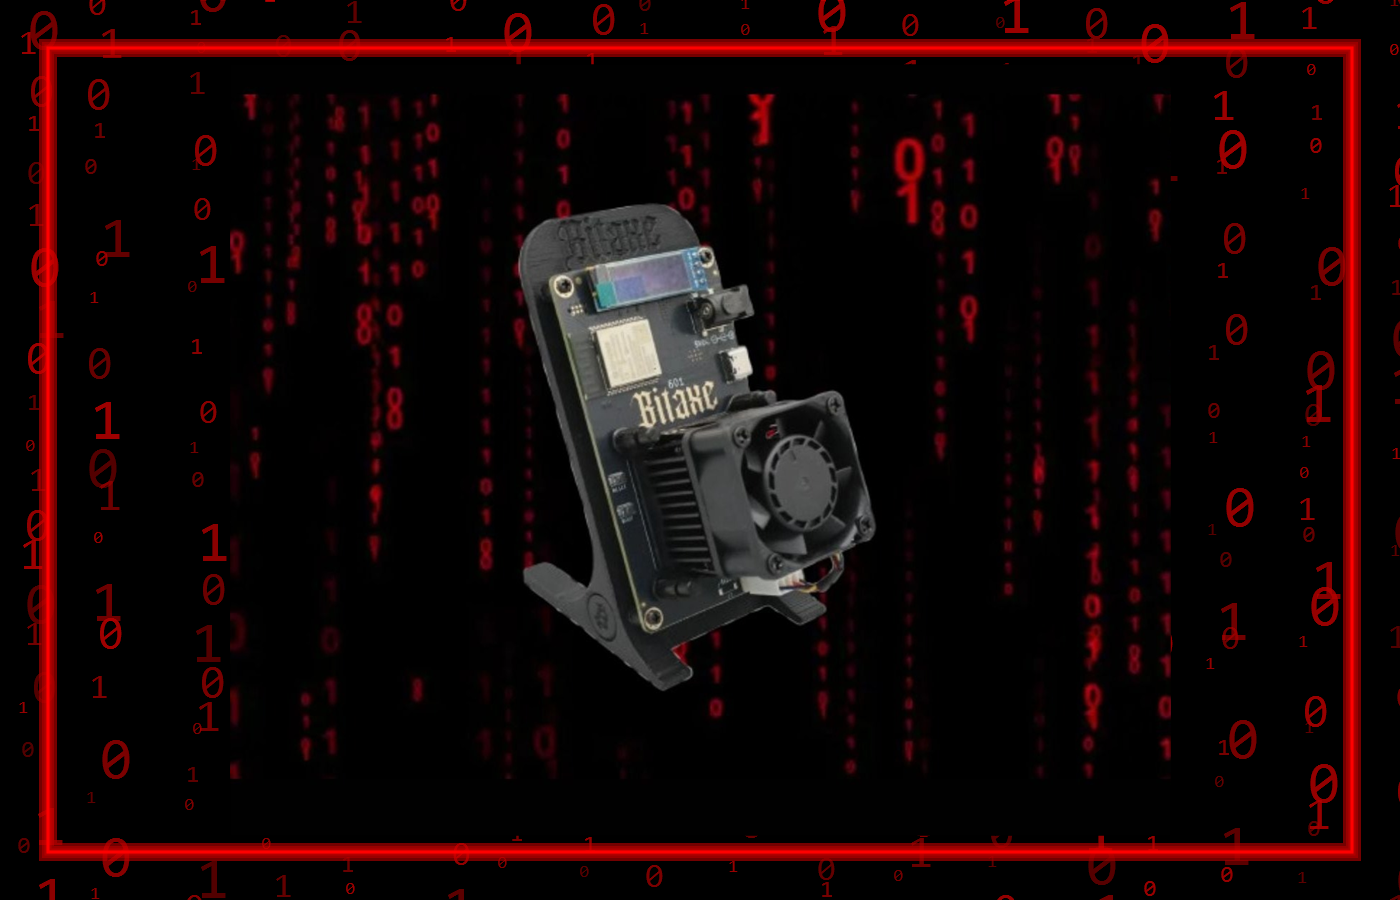
Bitaxe overclocking starts with heat control. A Bitaxe is small, but the ASIC, voltage regulator and nearby power components work hard. The best upgrades are simple: move heat away faster, keep air moving across the board, then tune the clock in small steps.
The aim is not just a higher number on the screen. The aim is stable accepted shares, lower thermal stress and more reliable hashrate.
This guide uses the same practical logic seen across serious Bitaxe Gamma overclocking builds: improve cooling, confirm clean power, use AxeOS settings carefully, then increase frequency and voltage in controlled stages.
A common custom tuning target once cooling, power and airflow are improved.
A realistic tuned range for many Gamma-style boards, depending on silicon, voltage and heat.
An aggressive target seen on stronger cooling setups, not a guaranteed result.
Best upgrades first
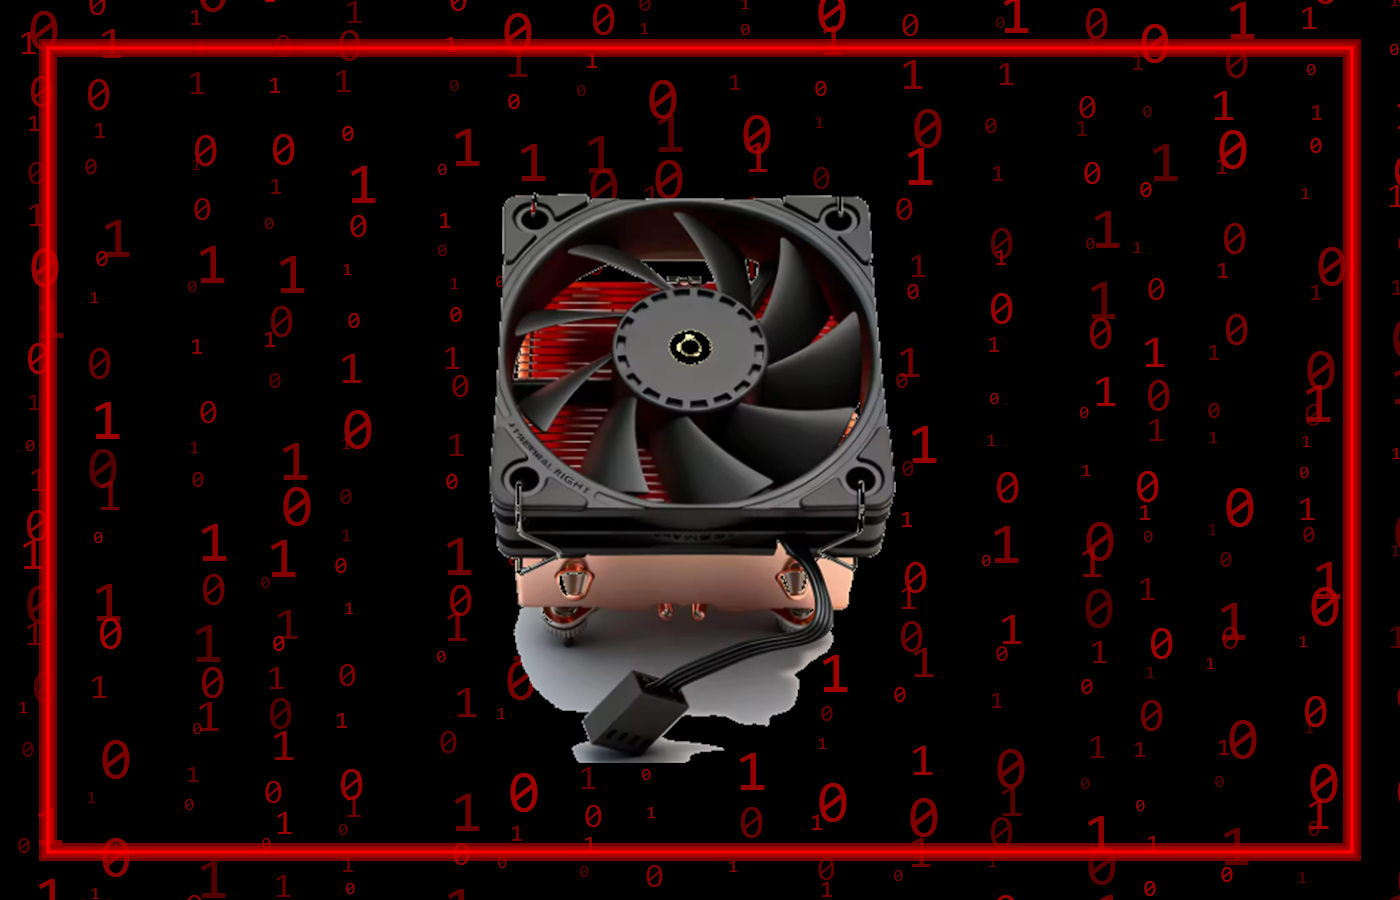
- Main heatsink upgrade: a larger copper heatsink, copper-base heatsink or Ice Tower style cooler gives the ASIC more thermal headroom. More surface area and better contact help the miner hold higher clocks for longer.
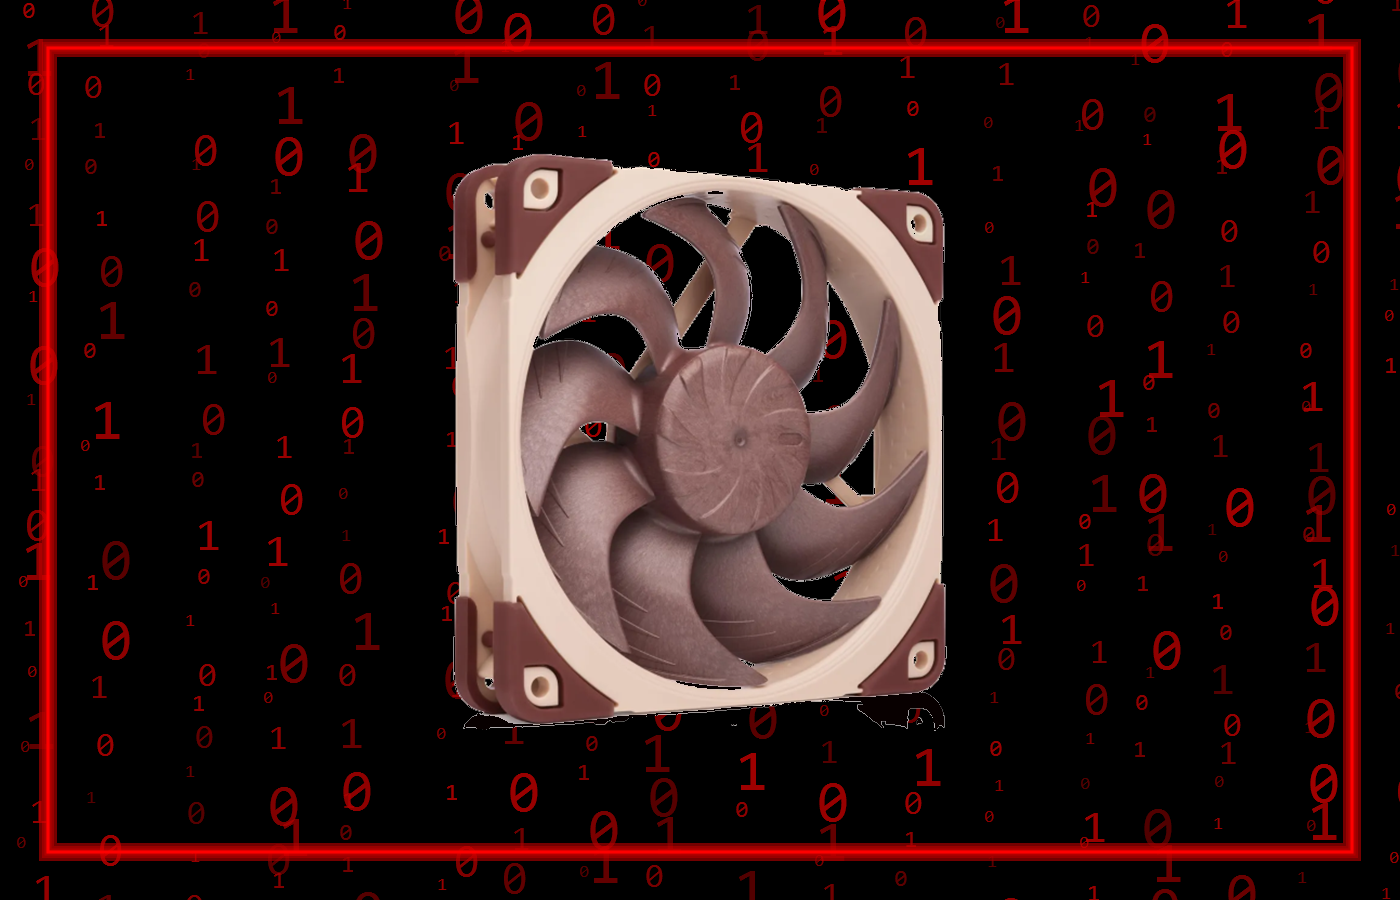
- Noctua fan upgrade: a quality 5V 4-pin PWM fan can improve airflow and reduce noise. A Noctua fan upgrade is popular because smoother airflow helps the board stay stable when you increase hashrate.
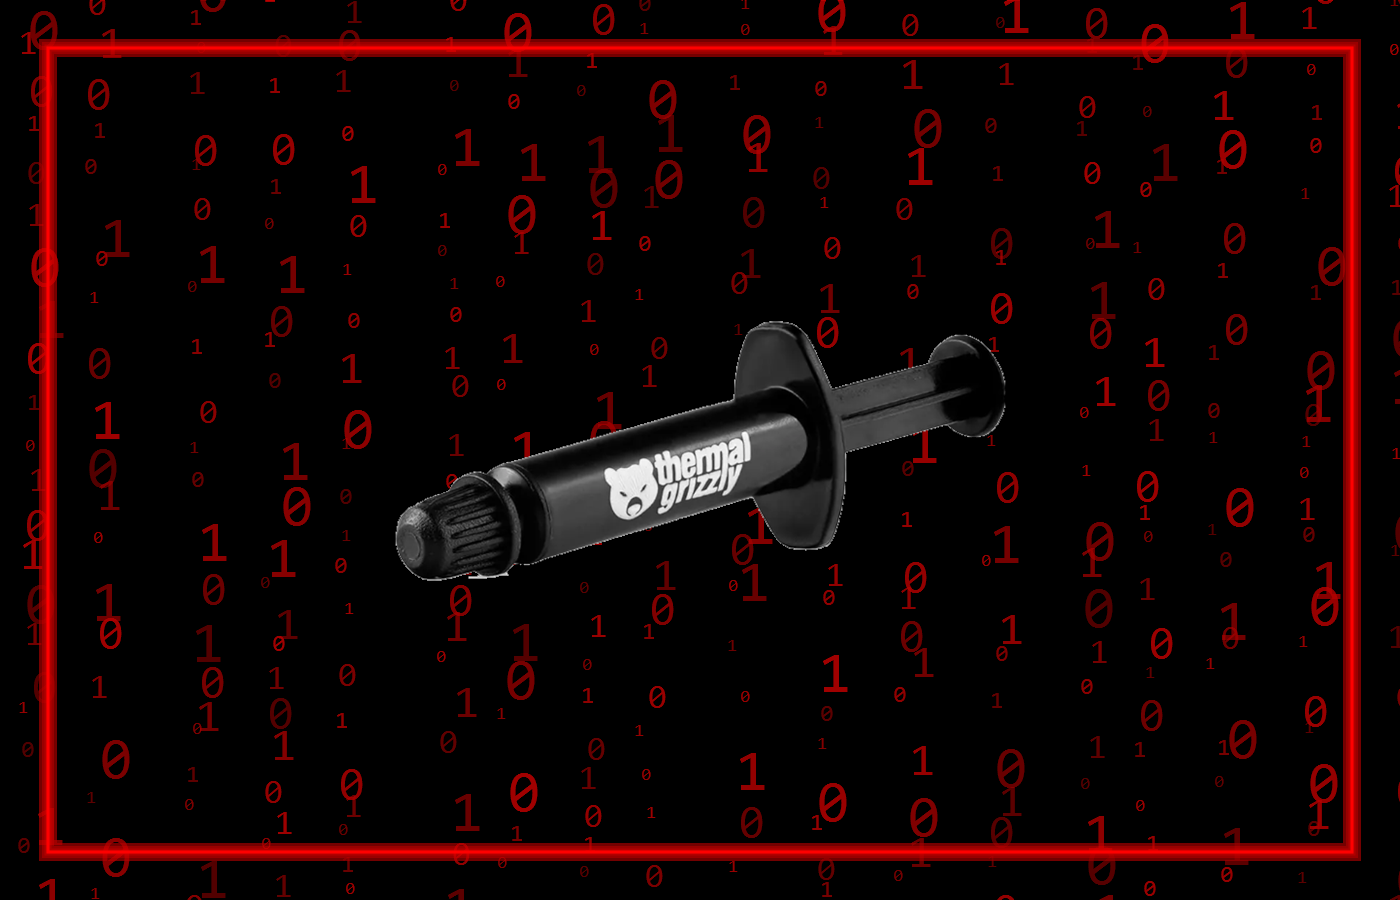
- Thermal paste upgrade: clean the ASIC surface carefully and use a thin, even layer of quality thermal paste. Too much paste can hurt contact; even pressure matters.
- Rear fan: a rear fan can pull warm air away from the board and reduce heat soak around the regulator area. Front-to-back airflow is usually better than air bouncing around the case.
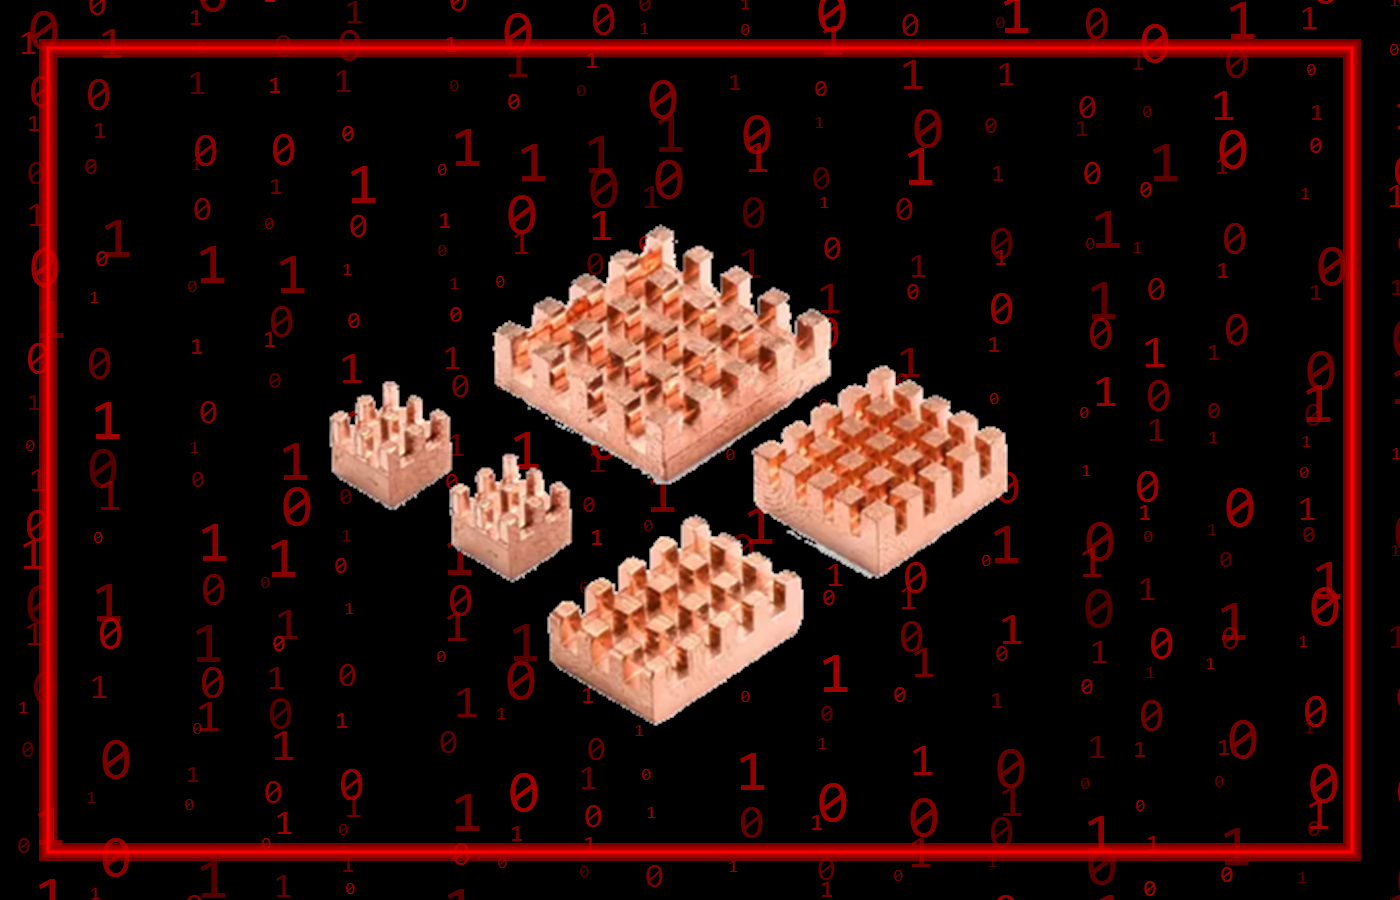
- Raspberry Pi Bitaxe hotspot heatsinks: a Raspberry Pi heatsink kit is ideal for Bitaxe board cooling because the small stick-on heatsinks fit many of the hot spots around the voltage regulator, MOSFETs and power stages. Place them only on suitable flat components, never across pins or exposed contacts.
What overclocking changes
Overclocking raises the ASIC frequency so the miner attempts more SHA-256 hashes per second. Higher frequency usually needs enough voltage to stay stable. That is why frequency, voltage, cooling and power supply quality all move together.
A small jump may look simple in AxeOS, but the board feels it as extra electrical load and extra heat. A stable 700 MHz tune can be better than a 725 MHz setting that causes rejected shares, restarts or heat soak.
Hotspot cooling tips
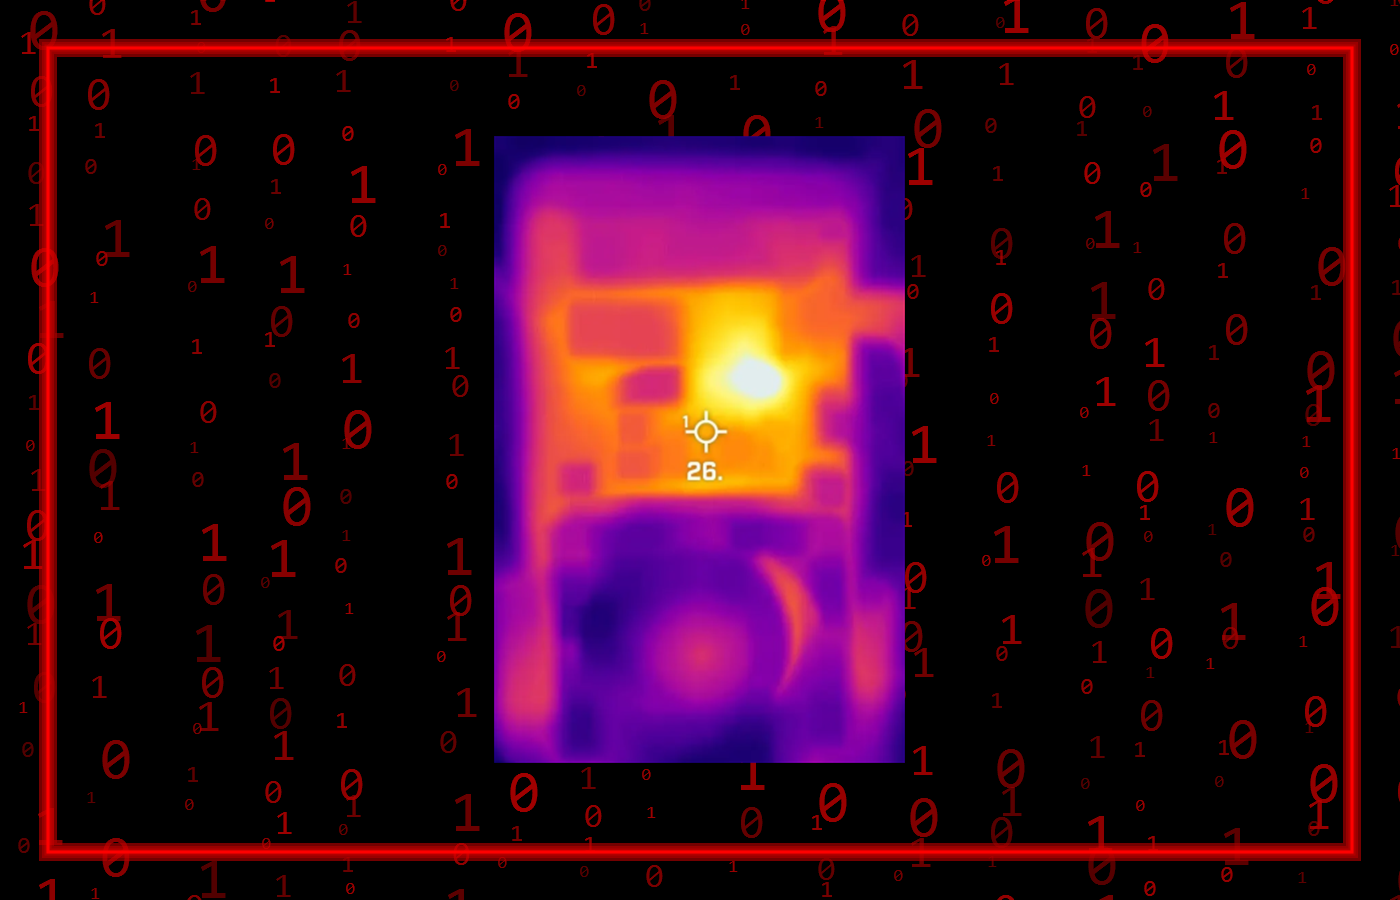
Do not only watch ASIC temperature. The voltage regulator area can become the real limit when you push frequency and voltage. If the board is stable but the regulator is cooking, add airflow and small heatsinks before increasing settings again.
- Keep the miner vertical where possible so heat rises away from the board.
- Leave space behind the fan and heatsink so the airflow can escape.
- Do not place the miner against a wall, router, radiator or another miner.
- Use small heatsinks on regulator hot spots only where they sit securely and cannot short anything.
- After every change, check accepted shares, rejected shares, ASIC temperature, regulator temperature and uptime.
Find the AxeOS overclocking settings
Open your Bitaxe IP address in your browser to load AxeOS. From the dashboard, open the menu, go to Settings, then find the ASIC, frequency, voltage and fan controls. Some AxeOS versions place tuning under advanced or system settings, but the route is the same idea: dashboard, menu, settings, ASIC tuning.
Before changing anything, write down your current frequency, voltage, fan mode, hashrate, ASIC temperature, voltage regulator temperature and share behaviour. That baseline tells you whether the next setting is actually better.
Custom AxeOS settings
Once cooling is upgraded, tuning is normally done in AxeOS by adjusting frequency and voltage. Move slowly. Results vary from chip to chip, so treat this as a guideline rather than a promise. A miner that runs all day at a slightly lower clock is more useful than one that looks fast for ten minutes and then crashes.
| Stage | Example settings | Typical result | Use case |
|---|---|---|---|
| Stock / baseline | Factory frequency and voltage | ~1.0-1.2 TH/s | First test, low heat, long uptime. |
| Moderate tune | 575-625 MHz with careful voltage | ~1.3-1.5 TH/s | Good airflow and stable daily mining. |
| Custom target | 700 MHz style tuning | ~1.4-1.6 TH/s | Better fan, better heatsink, watched temperatures. |
| Fine tuning step | 725 MHz test after a stable 700 MHz profile | ~1.5-1.6+ TH/s | Use only after temperatures and rejected shares look clean. |
| Aggressive build | 750-900 MHz territory | ~1.5-1.8+ TH/s | Strong PSU, serious cooling, hotspot heatsinks, experienced tuning. |
Step-by-step tuning method
- Record stock behaviour: note the hashrate, accepted shares, rejected shares, fan speed and temperatures before touching the settings.
- Upgrade cooling first: fit the heatsink, Noctua fan upgrade, copper heat sinks, thermal paste and rear airflow before pushing voltage.
- Increase in small steps: move frequency gradually, test, then decide. Do not jump straight to a headline number. Increments of 25 MHz are commonly reported in the community as a good experimental step size. Allow 15-30 minutes for stabilisation, then review hashrate, accepted shares, rejected shares and temperature before changing again.
- Watch the whole board: ASIC temperature matters, but voltage regulator and MOSFET hot spots can be the real limit.
- Save and restart: after each AxeOS change, save, restart, and give the miner time to show real accepted share behaviour.
- Back down if needed: if rejected shares climb, uptime drops, or heat rises too far, reduce frequency or voltage.
Think like a steady miner
Extra hashrate is only useful when it stays stable. A tuned Bitaxe that moves from around 1.2 TH/s toward 1.5 TH/s is adding meaningful work without buying a full second miner, but only if it keeps submitting accepted shares.
Power and placement
Use the correct 5V supply with enough current headroom. Higher clocks pull more power and create more heat. If voltage drops, the miner can become unstable even when temperatures look fine.
Placement matters. A desk with free air around the miner is better than a shelf packed with warm electronics. If you run several miners, separate them so one unit is not breathing another unit's exhaust.
A clean power supply, strong airflow and sensible room temperature are part of the overclock. Without them, even good AxeOS settings can look unreliable. In hotter weather it can be advisable to run a cooler rig at lower settings. If cooler weather permits, you may be able to use a seasonal boost and test higher clocks again.
Maximum hashrate expectations
Every board is different. Silicon quality, heatsink contact, fan quality, power supply stability and room temperature all matter. A sensible target for many customised Gamma-style miners is around 1.4 TH/s, 1.5 TH/s or 1.6 TH/s. With stronger cooling and careful tuning, some setups can push toward 1.8 TH/s or more.
The real win is a miner that stays online, keeps submitting accepted shares and holds a clean hashrate hour after hour.
Safety, warranty and damage warning
Overclocking is optional and done at your own risk. Raising frequency or voltage can increase heat, shorten component life, void warranty cover, damage the miner, damage a power supply, or create fire and electrical hazards if done badly.
Do not touch exposed electronics while powered. Keep flammable materials away. Do not bridge contacts with heatsinks. If you are not confident with exposed boards, power supplies, voltage adjustment or thermal work, stay at stock settings or ask an experienced person to help.